A Nest thermostat is a smart investment that can cut heating and cooling costs by up to 15%, but only if it stays powered and running. Unlike traditional thermostats hardwired directly to your HVAC system, Nest units rely on a combination of wiring and an internal rechargeable lithium-ion battery to function. When that battery drains faster than it charges, you’ll find yourself staring at a blank screen in the middle of summer or winter, never ideal.
Understanding how the Nest charges, what kills the battery prematurely, and how to spot trouble early can save you a service call and keep your home comfortable year-round. This guide walks through the power setup, expected battery life, warning signs, and practical fixes any homeowner can handle.
Table of Contents
ToggleKey Takeaways
- Nest thermostat battery life depends primarily on proper power supply through a C-wire connection, which keeps the battery charged indefinitely rather than the battery having a fixed lifespan.
- A missing or improperly configured C-wire is the most common cause of Nest battery drain, and adding a C-wire adapter or having one installed by an HVAC tech is the most reliable fix.
- The internal lithium-ion battery typically lasts 5 to 7 years before degradation occurs, but you can extend Nest thermostat battery performance by reducing display brightness, limiting smart home integrations, and placing the unit away from extreme temperatures.
- Watch for warning signs like blank displays, frequent Wi-Fi disconnections, or low battery icons in the top-right corner, and check your battery voltage through Settings > Technical Info > Power to confirm charging issues.
- Weak HVAC transformers, old corroded wiring, or poor Wi-Fi signal strength can all cause the Nest battery to drain faster, so verify your transformer outputs 22–26VAC and consider repositioning your router closer to the thermostat.
How Nest Thermostats Are Powered
Nest thermostats don’t plug into a wall outlet. They draw power from your existing HVAC wiring, which typically runs 24-volt AC (VAC) from the furnace or air handler to the thermostat location. The unit uses this low-voltage power to charge its internal battery continuously while also running the display, sensors, and Wi-Fi radio.
The rechargeable lithium-ion battery inside the Nest serves as a backup. It keeps the thermostat operational during brief power interruptions or when the HVAC system isn’t actively heating or cooling. Think of it like a laptop that stays plugged in, it’s always charging while in use, with the battery ready to bridge short gaps.
Understanding the C-Wire vs. Battery Backup
Most modern HVAC systems include a C-wire (common wire), which provides a continuous return path for the 24VAC circuit. This wire ensures steady power flow to the Nest, keeping the battery topped off. If your system has a C-wire connected to the thermostat, the battery rarely discharges below 80%.
Without a C-wire, the Nest has to “steal” power in brief pulses when the heating or cooling system cycles on. This works for many setups, especially if your HVAC runs frequently, but it can leave the battery struggling to charge during mild weather when the system sits idle. Google designed the Nest to function without a C-wire in many cases, but the battery may drain faster and require more frequent recharging.
If you’re installing a Nest in an older home without a C-wire, you have three options: hire an HVAC tech to run a new wire (typically $100–$300 depending on wire routing), install a C-wire adapter (sometimes called a power extender kit, often included with newer Nest models), or accept that the battery will cycle more frequently. For systems without a C-wire and low HVAC usage, adding the adapter or wire is the most reliable fix.
How Long Does a Nest Thermostat Battery Last?
Under normal operating conditions with a properly wired system, the Nest battery stays charged indefinitely, you’ll never think about it. The battery doesn’t have a fixed “lifespan” measured in months or years of use, because it’s constantly being recharged by the HVAC wiring.
If the charging circuit fails or the wiring can’t supply enough power, the battery can keep the Nest running on reserve power alone for 1 to 2 hours before the screen goes dark. This short window is intentional: the battery is sized for backup during brief outages, not as a primary power source.
Over several years, typically 5 to 7 years, the lithium-ion battery will degrade like any rechargeable cell. Capacity drops, and the unit may hold less charge even when wired correctly. Google doesn’t offer user-replaceable batteries for most Nest models (Nest Learning Thermostat and Nest Thermostat E use sealed units), so a failing battery after years of use often means replacing the entire thermostat or sending it in for service. The newer Nest Thermostat (2020) uses a similar sealed design.
Factors affecting long-term battery performance include ambient temperature at the thermostat location (extreme heat or cold accelerates degradation), how often the HVAC system cycles, and whether the unit is hardwired with a C-wire. Most homeowners won’t encounter battery issues within the first three years if the system is wired correctly.
Signs Your Nest Thermostat Battery Is Dying
The Nest will alert you when the battery is critically low, but you can usually spot trouble earlier. Watch for these warning signs:
- Blank or dim display: The screen stays dark or flickers when you walk past. The motion sensor should wake the display instantly: if it doesn’t, the battery may lack the charge to power the screen.
- Low battery icon: A red battery icon appears in the top-right corner of the display, often accompanied by a message like “Battery is low. Connect a C-wire for continuous power.”
- Frequent disconnections from Wi-Fi: The Nest drops offline repeatedly in the app, even though your home Wi-Fi is stable. The Wi-Fi radio draws significant power, and a weak battery may shut it down to conserve energy.
- System cycling issues: Heating or cooling shuts off unexpectedly, or the thermostat fails to call for heat/cool even when the schedule dictates it should. This can happen if the battery can’t hold enough charge to complete a full HVAC cycle.
- Delayed response: Tapping the display or adjusting the temperature takes several seconds to register, or the interface feels sluggish.
If you see any of these symptoms, check the battery level immediately (covered in the next section). Ignoring a low battery can leave you without climate control until the issue is resolved.
Common Causes of Battery Drain
Battery drain usually traces back to insufficient charging, not a defective battery. Here’s what typically goes wrong:
Missing or improperly wired C-wire: The most common culprit. Without a C-wire, the Nest must rely on power-stealing pulses, which may not supply enough current in homes where the HVAC runs infrequently.
Incorrect wire configuration during installation: If the installer connected wires to the wrong terminals (for example, using the G-wire terminal for power instead of the C-terminal), the Nest won’t charge properly. Double-check wiring against the labels on your HVAC control board and the Nest installation guide.
Weak transformer in the HVAC system: Most HVAC systems use a 40VA transformer to supply 24VAC. If the transformer is undersized, old, or shared with other accessories (humidifiers, UV lights, electronic air cleaners), it may not deliver enough power to keep the Nest charged. A multimeter test at the thermostat should read close to 24VAC: anything below 20VAC suggests a weak transformer or voltage drop in the wiring.
Extreme ambient temperatures: Installing a Nest in direct sunlight, near a heat register, or in an uninsulated garage can stress the battery. The operating range for Nest thermostats is 32°F to 104°F. Temperatures outside that range accelerate battery degradation and increase power draw.
Heavy Wi-Fi usage or poor signal strength: The Nest constantly maintains a Wi-Fi connection for app control, software updates, and integration with smart home platforms. If the router is far away or the signal is weak, the thermostat’s radio works harder and drains more power. According to troubleshooting advice on common battery drain fixes, moving the router closer or adding a Wi-Fi extender can reduce power consumption.
Old or corroded wiring: Homes built before the 1990s may have 18-gauge or even 20-gauge thermostat wire, which can introduce resistance and voltage drop over long runs. Corrosion at wire connections also increases resistance, reducing the power available to charge the Nest.
How to Check Your Nest Thermostat Battery Level
Checking the battery level takes about 30 seconds and requires no tools. Follow these steps:
- Wake the display by walking up to the Nest or tapping the screen.
- Open the Quick View menu by pressing the thermostat ring to open the main menu.
- Select Settings (the gear icon).
- Navigate to Technical Info (you may need to scroll down).
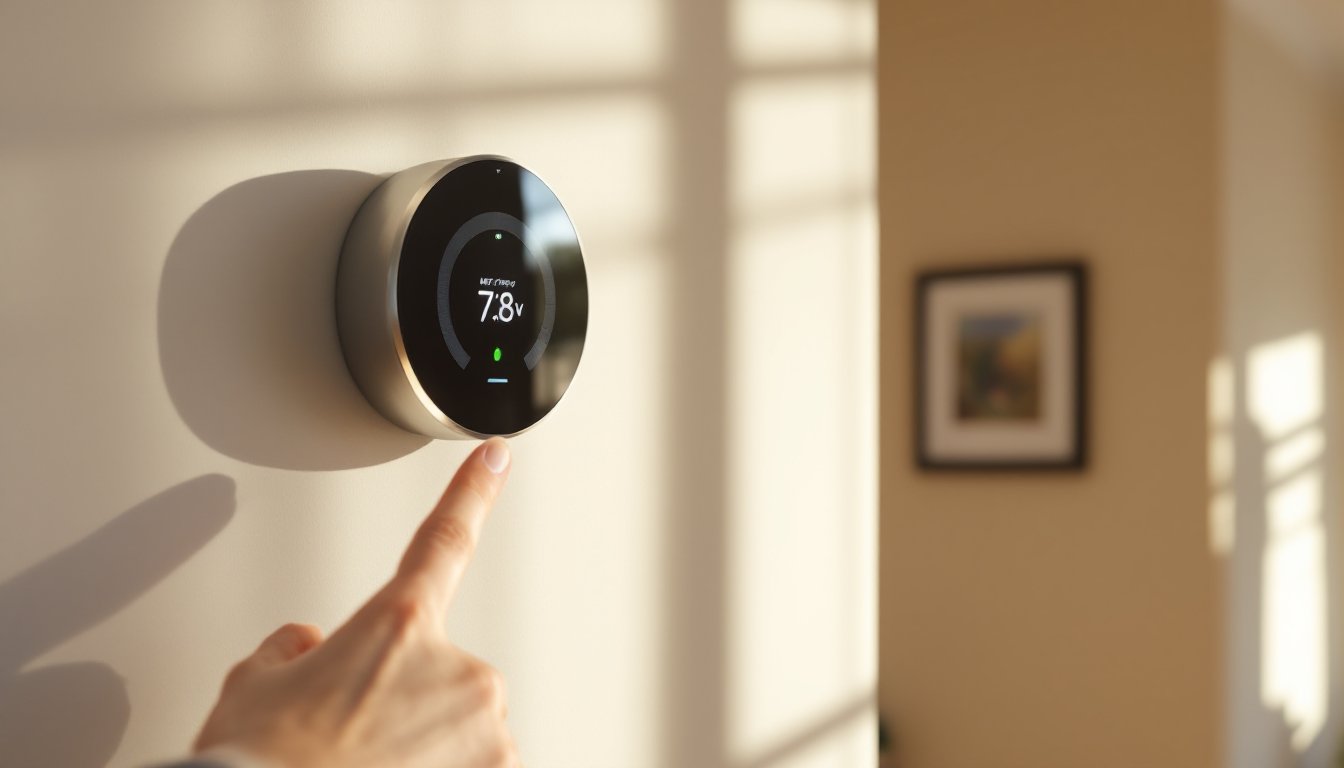
- Select Power. You’ll see a screen displaying the battery voltage (typically between 3.6V and 3.9V when fully charged) and the current power status.
The power screen will also indicate whether the Nest is receiving power from the wiring. Look for a line that reads “Power: Charging” or “Power: OK.” If it says “Power: Low” or shows a voltage below 3.6V, the battery isn’t charging properly.
You can also check battery status remotely using the Google Home app:
- Open the app and select your Nest Thermostat.
- Tap the Settings gear in the top-right corner.
- Scroll to Technical Info and tap Power.
If the battery consistently reads below 3.7V or the app shows repeated low-power alerts, you have a wiring or charging issue that needs attention. Detailed troubleshooting steps for power issues can help isolate whether the problem is wiring, the transformer, or the thermostat itself.
Tips to Extend Your Nest Thermostat Battery Life
Most battery issues come down to how the Nest is powered, not how you use it. These steps will keep the battery healthy and the thermostat running reliably:
Install or verify a C-wire connection. This is the single most effective fix. If your HVAC system has a C-wire terminal on the control board but it’s not connected at the thermostat, you can often run the existing wire bundle to include it. If no C-wire exists, install a C-wire adapter kit (Nest provides one with many models) at the furnace or air handler. This small transformer plugs into the control board and repurposes an unused wire (often the G-wire for the fan) to provide continuous power. If you’re not comfortable working inside the furnace panel, hire an HVAC tech, this is a 30-minute job for a pro.
Reduce display brightness. The Nest display can be set to turn off completely when not in use, which conserves power. Go to Settings > Display > Screen Wake and choose Never if you don’t need the screen to light up on motion. You can also reduce brightness under Settings > Display > Brightness to Low or Auto.
Limit the number of connected devices and integrations. Every smart home integration (Alexa, Google Assistant, IFTTT, etc.) increases the load on the Wi-Fi radio. If you’ve linked multiple services and rarely use them, disconnect the ones you don’t need.
Avoid extreme installation locations. Don’t mount the Nest in direct sunlight, near exterior doors that let in cold drafts, or in unheated spaces like garages or mudrooms. The ideal location is an interior wall about 5 feet off the floor, away from windows and heat sources, where the ambient temperature matches the rest of the house.
Keep software up to date. Google occasionally releases firmware updates that improve power management. The Nest updates automatically when connected to Wi-Fi, but you can manually check by going to Settings > Software > Update.
Test your HVAC transformer voltage. Use a multimeter to measure voltage at the thermostat terminals (R to C). You should see 22–26VAC. If it’s below 22V, the transformer may be undersized or failing, and you’ll need an HVAC tech to replace it. A standard residential transformer upgrade costs $75–$150 in parts and labor.
Consider a wired power adapter. If running a C-wire is impractical and the adapter kit doesn’t solve the issue, Google sells a plug-in power adapter for some Nest models that bypasses HVAC wiring entirely. This isn’t common, but it’s an option for difficult installations.
By addressing power supply issues early and optimizing settings, you can keep the Nest running indefinitely without battery worries. Most problems are fixable with basic DIY skills or a single service call, no need to replace the thermostat unless the battery has genuinely degraded after years of use.